Originally published on blog.farm2.me.
Farm2Me: They say an apple a day, right? Well, what do you do when your CSA box arrives, and you’ve got more than a few WEEKS worth? How about turn them to filling and make them last months. Brooklyn baker, blogger, and web designer Amélie Walker-Yung shares her favorite taste of autumn.
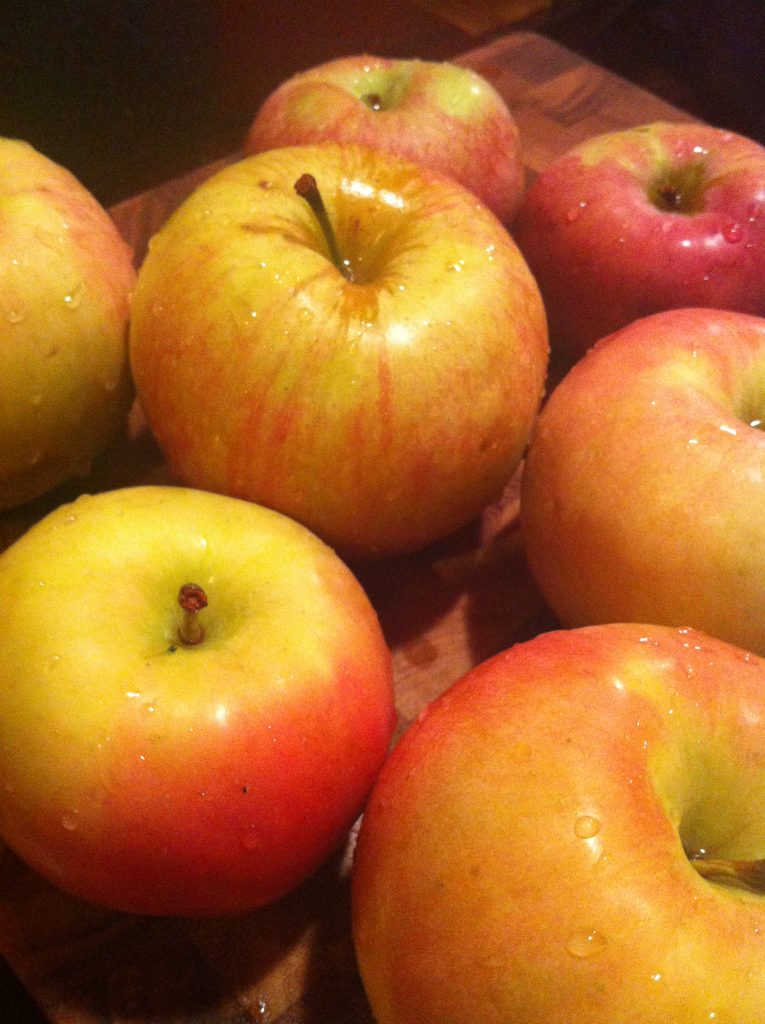
Fall is apple season. New York has hundreds of apple orchards. Countless varieties are showing up at green markets around the city, and every CSA member can expect apples in their weekly share.

I am a member of the Local Roots NYC CSA, and they get our fruit from Philips Farm in Camden, New Jersey. Local Roots’ nontraditional CSA model connects New Yorkers with their local farmers with an eye to Big Apple dwellers’ typically hectic lifestyles. Members join season by season, paying 12 weeks at a time rather than the usual 6 months, and can pick and choose between vegetable, fruit, dairy, egg shares and more.
Fruit is one of my shares, and I’ve been getting about 3 pounds of apples per week lately. Though I love apples, it’s a little hard to keep up sometimes.

I didn’t want any of these scrumptious beauties to go to waste, so I decided to make and freeze apple pie filling. Now I can bake apple pies from local produce, even when the season changes and local apples are no longer available. If you are in the same situation—or maybe were a little over enthusiastic during your family’s recent apple picking outing—you can do the same.
Give yourself some time for this process, which takes about 2 hours when you take the cooling time into consideration. Wait too late, and you’ll be setting an alarm to move your apples to the freezer in the middle of the night like I did.
Core, peel and slice your apples, then toss with lemon juice, about 1 tablespoon per pound. A pound is 2-3 cups of slices, which is between 2-5 apples depending on size. I had 9 cups from 6 medium-large apples, smaller apples might yield about 1-2 cups/apple.
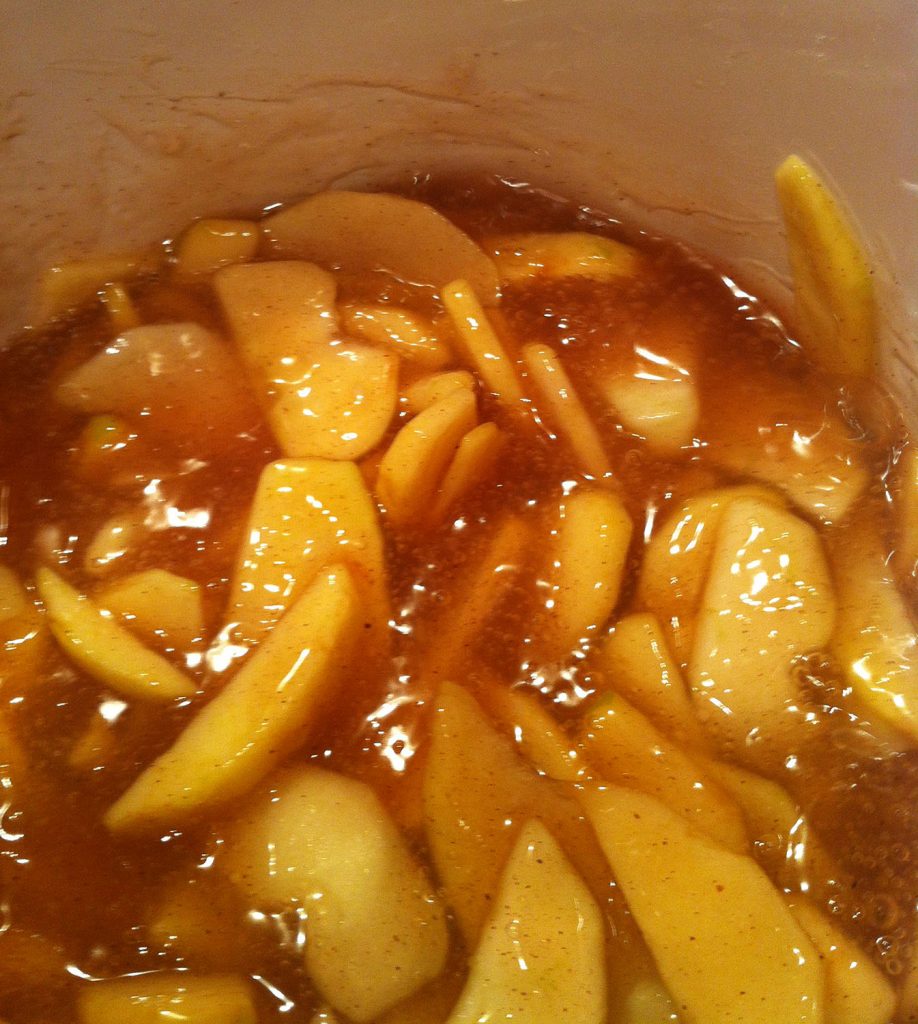
For 9 cups of apples, bring 2 cups of sugar, 1/2 cup cornstarch, 1 teaspoon cinnamon, 1/2 teaspoon nutmeg and 1/2 teaspoon salt to a boil. Boil for a couple of minutes, stirring, then add your sliced apples. Bring back to a boil, then cover, reduce heat, and simmer for 6-8 minutes.

Cool the cooked apples for 30 minutes in the pot, then put the apples into containers, leaving them open, and wait about up to 1 1/2 hours for them to cool to room temperature. I used a few quart-sized freezer Ziplocks, but hard plastic containers are also great. Leave some room for expansion as your filling freezes. Once room temperature (but no more than 1 1/2 hours has passed), seal and freeze.
The best thing about preparing and freezing extra produce like this is that it lasts a good long time. This apple pie filling can be kept frozen for up to 12 months.
Amélie Walker-Yung is a blogger and web designer. She believes in using the freshest, most natural ingredients available in her cooking and baking. She loves seeing what will be at her CSA each week and rising to the challenge that sometimes provides! Primarily a cupcake baker, Amélie also cooks—and eats!—vegetarian foods, poultry and seafood. Visit her blog Cupcakes by Amélie for everything from habanero-chocolate cupcakes to turkey “meatcakes.”

Leave a Reply